Description
Description
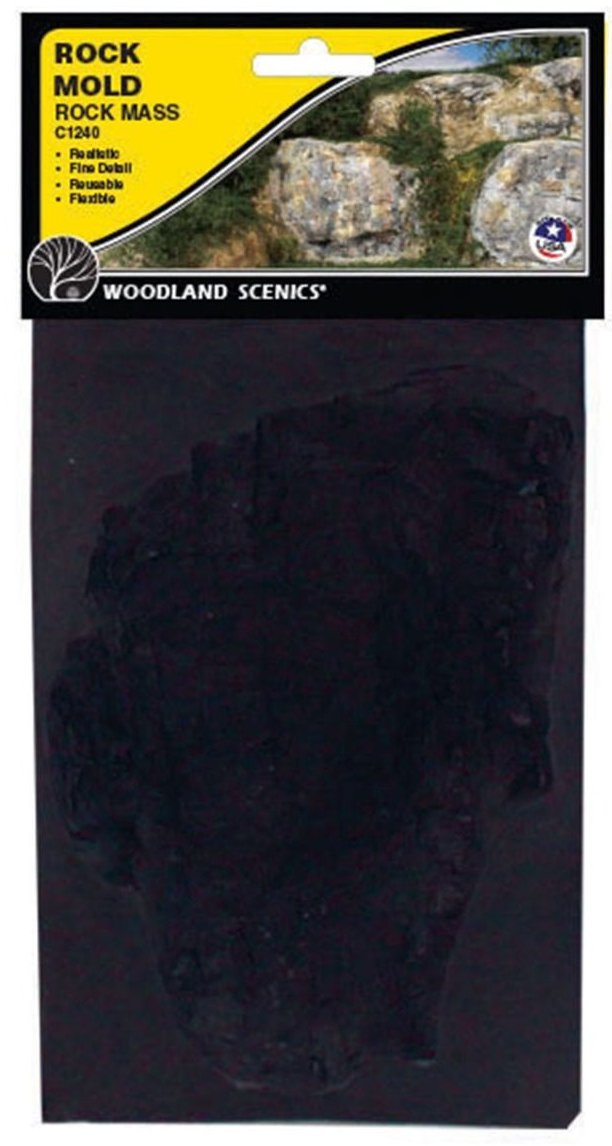
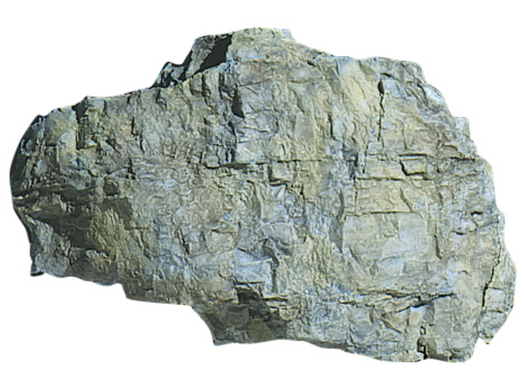
Use this mold to make rocks where you want large rock masses. Mold is flexible and reusable. 5″ x 7″ (12.7 cm x 17.7 cm) About Rock Molds, Ready Rocks™, Custom & Debris Model any rock from anywhere. Cast or carve your own; install ready-to-go, hand-painted rock; and pile debris under rock faces and along road cuts. INSTRUCTIONS Make rock castings with desired Woodland Scenics Plaster (C1201, C1180, C1198, C1199). Prepare plaster following package instructions. Spray mold with wet water(mix 2 drops liquid soap in 1 cup water), then pour plaster into mold and tap lightly to dislodge bubbles. Support underneath mold or around edges to keep level. Let set approximately 40 minutes (let small/thin castings dry in mold overnight), then remove from mold carefully. Let castings dry overnight before coloring. ATTACHING ROCK CASTINGS 1. Attach rock castings with Lightweight Hydrocal® Plaster (C1201), Shaper SheetTM Plaster (C1180), wadded Plaster Cloth (C1191-C1193, C1203) or Scenic GlueTM (S190). Test t rock castings in desired location. You may need to cut into your terrain for a proper t. Soak rock casting in water for 10 seconds and brush terrain with water where rock will be attached. When usingLightweight Hydrocal or Shaper Sheet Plaster as an adhesive, mix plaster to a paste-like consistency. Apply adhesive onto backside of rock casting and hold in place on layout until setting begins. Try to keepadhesive off the rock face or it will lose some of its rock-like detail. Fill gaps with one of the above listed plaster products. Let dry in place for 24 hours. Color with Earth ColorsTM Liquid Pigment (C1215-C1223) Refer to The Scenery Manual (C1207) or woodlandscenics.com How-to Videos for more information on attaching and coloring castings.
